noipの登録と自動更新のメモ
#Tech
目次
はじめに
No-IPとはダイナミックDNSを提供するサービスです。
ダイナミックDNSとは、自宅のIPアドレスを固定できない場合に動的に変わる自宅のIPアドレスとドメインを紐付けてドメインでアクセスできるようにする仕組みです。
今回はNo-IPの無料のDDNSを使用しています。
No-IP DUC
No-IP用のDynamic Update Clientを用意します。これによりNo-IPのドメインと紐づくIPを更新します。
# クライアントをダウンロード
wget --content-disposition https://www.noip.com/download/linux/latest
tar xf noip-duc_3.3.0.tar.gz

# インストール
cd noip-duc_3.3.0/binaries/
apt install ./noip-duc_3.3.0_amd64.deb

# 動作確認
systemctl status noip-duc
認証情報の準備
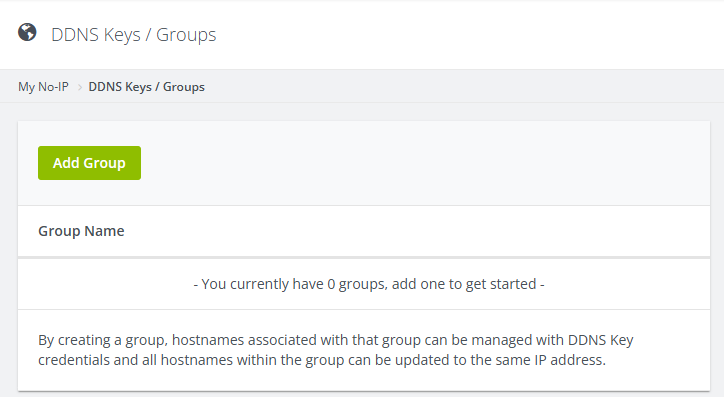
noipのDDNS Keys/Groupsのページに行き、Add Groupでグループを作成します。
その後、Group NameとGrouped Hostnamesを指定します。
認証にキーが必要になるため、Add DDNS KeyからDDNS Keyを作成します。
作成した下記3つは忘れないようにしてください。
- Username
- Password
- Hostname

自動起動の設定
サービスファイルを確認すると、/etc/default/noip-ducに変数を格納するようになっている。
[Unit]
Description=No-IP Dynamic Update Client
After=network.target auditd.service

[Service]
EnvironmentFile=/etc/default/noip-duc
ExecStart=/usr/bin/noip-duc
Restart=on-failure
Type=simple

[Install]
WantedBy=multi-user.target/etc/default/noip-ducに先程のUsername、Password、Hostnameを記述する。
NOIP_USERNAME=xxxxxxx
NOIP_PASSWORD=xxxxxxxxxxxx
NOIP_HOSTNAMES=xxx.xxxxxxx.xxx
設定ファイルが準備できたら、サービスを起動してステータスを確認します。
ステータス確認でupdate successfulが表示されていれば作業は完了です。
systemctl enable noip-duc

systemctl start noip-duc

systemctl status noip-duc